Key takeaways
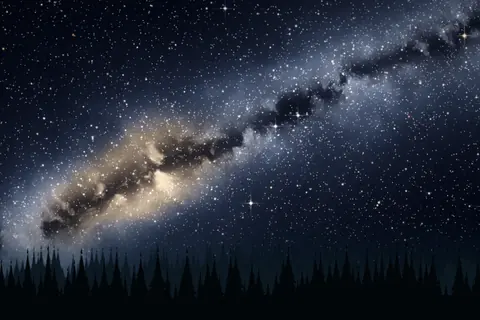
- Yes, an iPhone can photograph the Milky Way, the northern lights, the Moon and star trails. It needs a dark sky, a clear night, a steady tripod and manual control.
- Darkness and steadiness matter more than any gadget. A small tripod, a phone clamp and a soft cloth for the lens cost very little.
- Use the 1x lens for the Milky Way over a foreground and the 0.5x lens for big skies. Start at ISO 1600 and 10 to 12 seconds, and shoot RAW.
- Focus by hand on a bright star, use the self-timer, and read a test frame before you change anything.
Can an iPhone photograph stars?
An iPhone can photograph stars, the Milky Way, the northern lights and the Moon, as long as you give it a dark sky, a steady support and enough exposure time. It will not match a large camera on a tracking mount, because its sensor is small and its aperture is fixed, but a good phone picture of the night sky is well within reach.
Apple’s automatic Night mode already makes dark scenes brighter, and with a tripod it can take exposures of up to 30 seconds according to MacRumors’ guide. For the stars, though, many photographers prefer to choose the settings themselves, and that is what this guide is about. If you use the manual camera in AstroNight, you can set every number we mention below.
What you need
| Item | Why you need it | A modest option |
|---|---|---|
| A tripod | Exposures of many seconds need a rock steady support | Any small, sturdy tripod, kept low |
| A phone clamp | It holds the phone tightly, with the lens clear | A cheap spring clamp with a tripod thread |
| A soft lens cloth | A smudge becomes a halo around every bright star | A microfibre cloth |
| A manual camera app | To set the exposure, focus and white balance yourself | AstroNight, which is free to download |
| A red light | It protects your night vision while you work | A small red torch or a red screen mode |
| Warm clothes and a spare battery | Cold drains a phone battery quickly | A power bank kept in a pocket |
You can read why a red light matters in our article on dark adaptation.
Choose the night and the place
The best settings in the world cannot rescue a bright or cloudy sky. Check a cloud forecast first, then the phase of the moon: a bright moon washes out the Milky Way, as we explain in the moon article. Then find a dark place with a clear view of your subject. The Bortle scale is a useful way to think about how dark a site is.
In Finland, remember that the bright heart of the Milky Way never climbs out of the haze, so the northern Milky Way and the aurora are the better subjects, as this article and the aurora guide explain.
Which iPhone lens should you use?
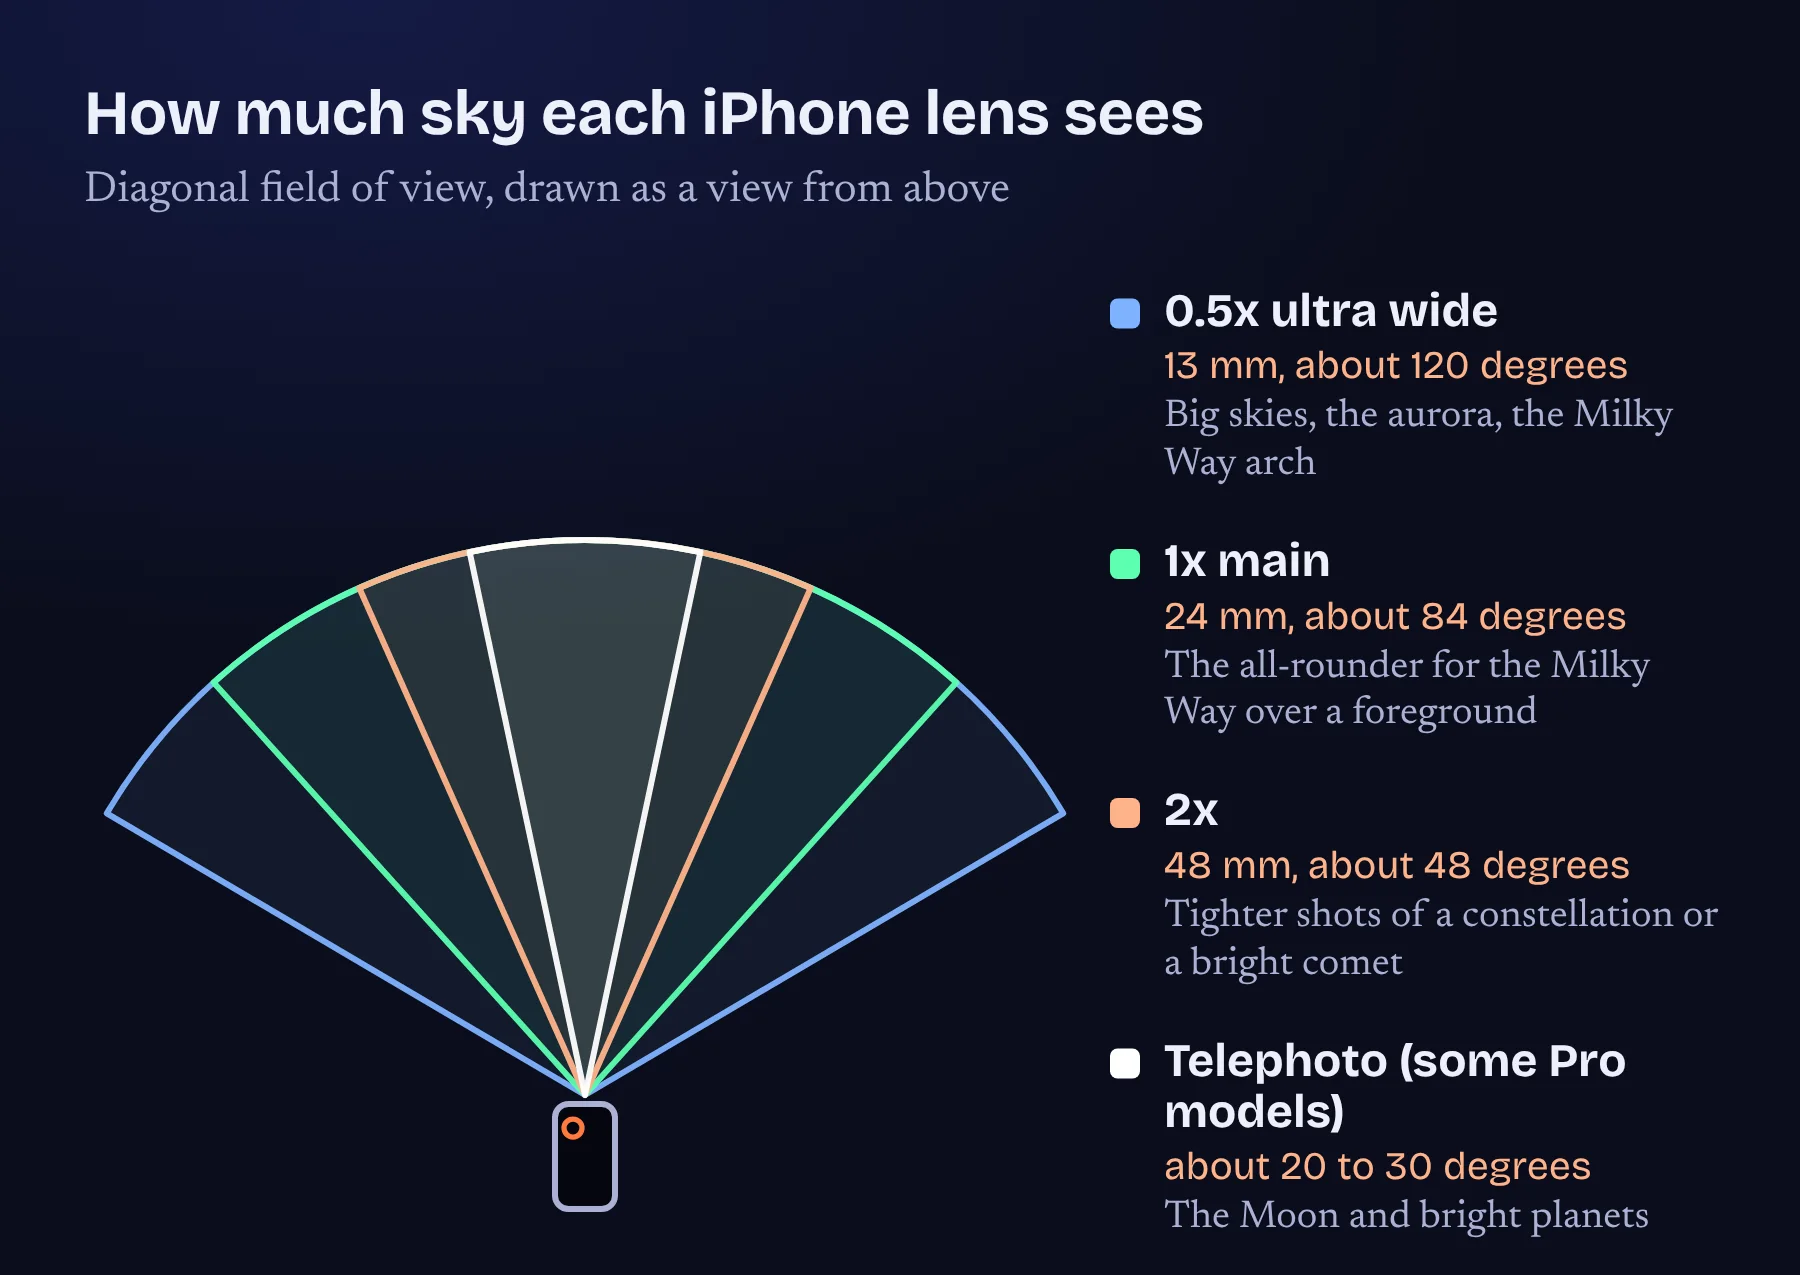
Most recent iPhones have an ultra wide lens (13 mm equivalent on the iPhone 17 Pro) and a main lens (24 mm equivalent), and some models add a 2x view and a telephoto lens, according to Apple’s specifications. The ultra wide lens has a slightly smaller aperture (f/2.2 against f/1.78 for the main lens on that model), but it lets you use a longer exposure before the stars trail and it fits in much more sky.
- 0.5x ultra wide: big skies, the aurora and the Milky Way arch. Expect the corners to be a little soft and stretched.
- 1x main: the all-rounder, and usually the sharpest. Good for the Milky Way over a foreground.
- 2x and longer: tighter pictures of the Moon, a bright comet or a constellation. The exposure time you can use becomes much shorter.
Set up the tripod before it is dark
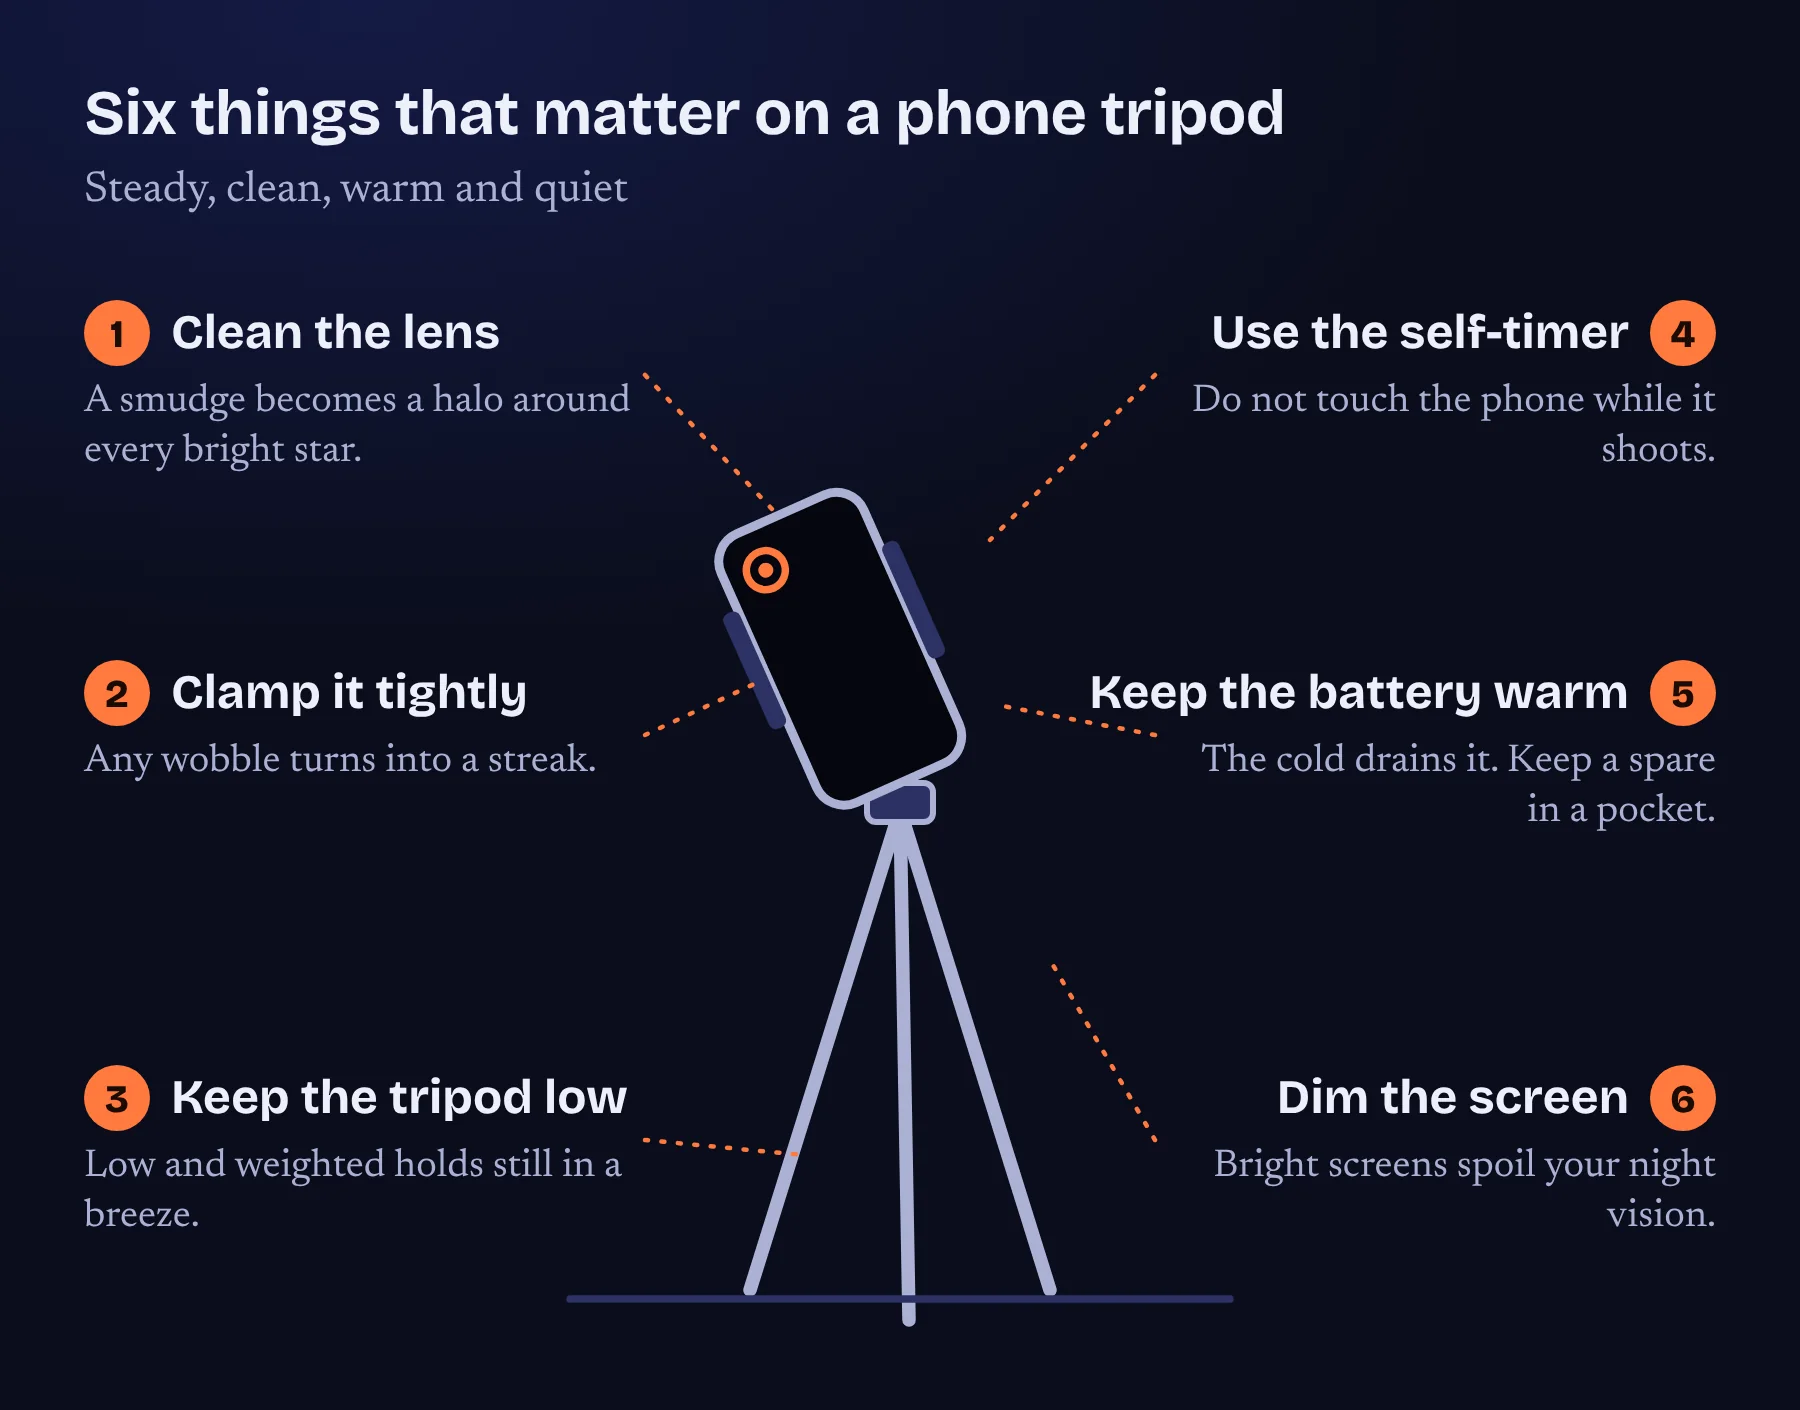
Do the fiddly work while you can still see. Clamp the phone firmly, with the camera lens clear of the clamp, keep the tripod low and weight it if there is wind, and clean the lens. Switch off notifications, so that a message does not interrupt an exposure, and turn the screen brightness down.
Step by step: your first night sky photo
- Choose a dark place and a clear night. Check the cloud forecast, avoid a bright moon and drive away from town lights if you can.
- Set up the tripod. Clamp the phone tightly, keep the tripod low, and clean the lens.
- Choose the lens. Use 0.5x for big skies and the aurora and 1x for the Milky Way over a foreground.
- Focus by hand. Set focus on a bright star or planet, check it at 100 per cent and then leave it alone.
- Set the exposure. Start with ISO 1600 and 10 to 12 seconds on the 1x lens, and switch RAW on.
- Shoot with the self-timer. Start a sequence of frames without touching the phone.
- Check, adjust and repeat. Zoom in on a test frame, change one setting and shoot again.
If you want the numbers for each step, our settings guide has them for five subjects, and the focus guide goes into step four in detail.
Starting settings at a glance
| Subject | Lens | ISO | Exposure time |
|---|---|---|---|
| The Milky Way | 0.5x or 1x | 1600 to 3200 | 10 to 12 s on 1x, up to 20 s on 0.5x |
| The northern lights | 0.5x or 1x | 1600 to 3200 | 5 to 8 s, or 1 to 3 s when bright and fast |
These are only starting points. The sky, your phone and your site are all different, so let your first test frame have the last word.
Mistakes almost everyone makes
| Mistake | What you see | What to do |
|---|---|---|
| Leaving autofocus on | Soft, swollen stars | Focus by hand on a bright star |
| Exposing for too long | Stars stretched into short lines | Shorten the exposure, see the exposure table in our settings guide |
| Touching the phone during the shot | Doubled or zigzag stars | Use the self-timer |
| Handholding | Blurred everything | Use a tripod |
| Shooting only JPEG or HEIC | A colour cast you cannot fix | Shoot RAW |
| Looking at the bright screen | Poor night vision | Dim the screen and use a red light |
Check your frames, then improve them
Before you pack up, zoom in on a test frame. Our article on reading a test frame lists what to look for: round stars, even corners and a believable colour. Make one change, shoot again and write down what worked.
When you are happy with the settings, take many frames and combine them. Stacking averages out the noise, and it is the best way to make a small sensor produce a clean image. For a few easy star trails, this guide shows how to combine short frames.
Frequently asked questions
Can I photograph the night sky with an iPhone?
Yes. With a tripod, a dark sky and control over exposure and focus, an iPhone can photograph the Milky Way, the aurora, the Moon and star trails.
What is the best iPhone for night sky photos?
Recent iPhones with a larger main sensor and an ultra wide lens do best, but any recent model that lets you control the exposure can make a good picture. The main thing is a dark sky and a steady tripod.
Do I need an app?
You need something that lets you set the exposure time, ISO, focus and white balance by hand. The Camera app mostly chooses for you. A manual camera such as the one in AstroNight lets you choose.
What exposure time should I use?
On the 1x lens, about 10 to 12 seconds is a safe start, and on the 0.5x lens up to about 20 seconds. Longer than that and the stars begin to trail.
Why are my star photos blurry?
The usual causes are autofocus, an exposure that is too long, a phone that moved, or a smudged or dewy lens. Our focus guide shows how to tell them apart.
Is it worth using RAW?
Yes. RAW keeps the unprocessed sensor data, so you can fix the white balance and brightness afterwards.
Sources and further reading
AstroNight is now on the App Store. The free planner, coach and manual night sky camera works on iPhone and iPad with iOS 17 or later, offline, with no account. Get it on the App Store.