Key takeaways
- Zoom in to 100 per cent on a star and in the corners, because the small screen on the camera hides most problems.
- Check for five things: vignetting, colour cast, an uneven background, soft stars and trailed stars, and then read the histogram.
- Trailed stars all stretch in the same direction, while out of focus stars grow round and fuzzy. A shorter exposure tells you which one you have.
- Make one change at a time, take another test frame and write down what worked.
To read a test frame, zoom in on a star to check focus and trailing, look at the corners for vignetting, compare the two halves for a gradient, judge the colour balance and read the histogram. Do it under the sky, while you can still change something.
A photograph on the back of the camera is a poor witness. It is small, it is bright, and it forgives nearly everything. Looking at a test frame properly, on a larger screen and with a few specific questions in mind, will save you many disappointing evenings.
Vignetting
Vignetting is a darkening towards the corners of the frame. It is common with lenses used at a wide aperture, and it becomes obvious in astrophotography because the sky is smooth and any change in brightness stands out. Closing the aperture slightly often reduces it, and flat frames, which are pictures of an evenly lit surface, allow your processing software to correct what remains. AstroNight compares the brightness of the corners with the brightness of the centre to judge how strong the effect is.
Colour cast
A colour cast means that the whole picture leans towards one colour, commonly green, red or blue. Some of it is natural, since the sky over a town is often orange, and some of it comes from the white balance or from a filter. The app compares the averages of the colour channels to decide whether the balance looks reasonable, and a strong cast is usually easy to reduce during processing when you have shot in RAW.
An uneven background
If one side of the frame is clearly brighter than the other, a light source is probably close to that side. It might be the moon, a town beyond the trees or the last glow of twilight. The app looks at the brightness of the two halves of the frame and tells you when they differ. Turning the camera away from the source, or waiting for the moon to set, is the best cure, and gradient removal tools can help afterwards with whatever remains.
Softness, and why it is hard to name
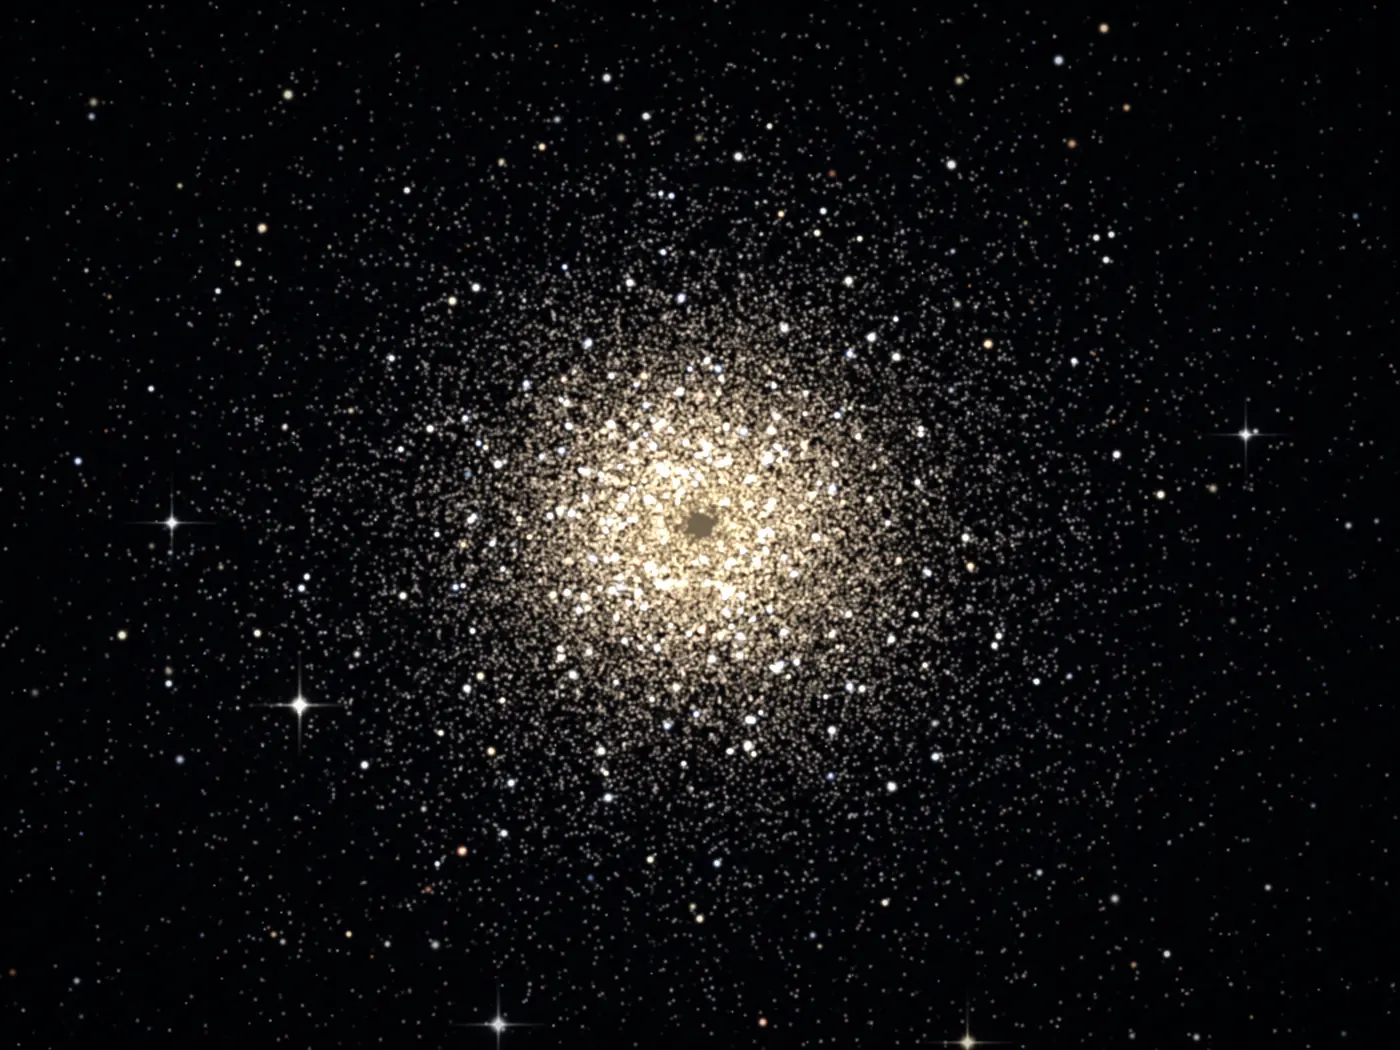
Stars that look swollen and soft can be out of focus, or they can be slightly stretched by the motion of the sky, and a single frame cannot always tell you which. AstroNight measures how much fine detail the picture contains, and when it finds softness it says plainly that focus and trailing look alike in one frame, instead of pretending to know. A quick check makes the difference. Trailed stars are stretched in one direction, and all of them stretch in the same direction, while stars that are out of focus grow round and fuzzy. A shorter exposure separates the two at once, and the exposure that suits your lens is in your first night with a camera and a tripod.
Read the histogram
The histogram is a chart of how many pixels in the frame are dark and how many are bright. On a night sky picture most of the pixels belong to the background, so the main hump should sit in the left part of the chart. As a rule of thumb, it should be clearly away from the left edge, because a hump pushed hard against that edge means the faintest detail has been lost, and well short of the middle, because a bright background means more sky glow than you want. Do not judge by the brightness of the screen itself, which you can change in a moment and which lies in the dark.
Eight problems and their cures
| Problem | What you see | Likely cause | The cure |
|---|---|---|---|
| Vignetting | Darker corners | A wide aperture, or no flat frames | Close the aperture a little, and shoot flat frames |
| Colour cast | The whole frame leans towards one colour | Town light, the white balance or a filter | Shoot RAW and balance the colour in processing |
| Gradient | One side is brighter | The moon, a town or the last of the twilight | Point away from the source, wait, or remove the gradient later |
| Soft stars | Swollen, fuzzy points | Poor focus, thin cloud or dew | Refocus on a star and wipe or warm the lens |
| Trailed stars | Points stretched in one direction | The exposure is too long for the lens | Shorten it, using the 500 or 300 rule |
| Edge distortion | Stars in the corners look like small wings | Aberrations of a fast lens wide open | Close the aperture by a stop or so |
| Hot pixels and noise | Bright dots and grain | A warm sensor, a high ISO or a long exposure | Lower the ISO, and use dark frames and stacking |
| Dew | Halos round bright stars and a general softness | The lens has cooled below the dew point | A heater strap or a hand warmer, and a lens hood |
The remedies for noise and grain are the subject of why a hundred frames beat one perfect frame.
Test, adjust and repeat
None of these checks takes long, and all of them are much easier to act on while you are still standing next to the camera than the next morning at your desk. Here is the routine in order.
- Zoom in on a star. Magnify the frame to 100 per cent on a bright star, first in the centre and then in a corner.
- Tell focus from trailing. Round, fuzzy stars are out of focus, while stars stretched in one common direction are trailed. Shorten the exposure to separate the two.
- Look at the corners. Compare the brightness of the corners with the centre to judge vignetting.
- Compare the two sides. If one side of the frame is clearly brighter, a light source is close to that side.
- Check the colour. Decide whether the colour balance looks reasonable for the sky above you.
- Read the histogram. Make sure the main hump of the background sits left of centre without being pushed against the left edge.
- Change one thing and repeat. Adjust a single setting, take another test frame and compare.
Make one change at a time, take another test frame and compare, and note down what worked. Over a season, those small notes turn into the kind of experience that no article can give you.
Change one thing, take another frame, and write down what happened.
Frequently asked questions
How can I tell whether my stars are out of focus or trailed?
Look at them magnified. Trailed stars are stretched in one direction, and all of them stretch the same way. Out of focus stars grow round and fuzzy. If you are still unsure, take a frame with a much shorter exposure, and if the problem disappears, the cause was trailing.
What should a night sky histogram look like?
The main hump of the background should sit in the left part of the chart, clear of the left edge and well short of the middle. A hump jammed against the left edge has lost faint detail, and one near the middle means the sky is too bright for the exposure.
What is vignetting and how do I fix it?
Vignetting is a darkening towards the corners of the frame, common with lenses used at a wide aperture. Closing the aperture a little reduces it, and flat frames let your processing software correct what remains.
Why is one side of my night sky photo brighter?
A light source such as the moon, a town or the last glow of twilight is probably close to that side. Turn the camera away from it, wait for the moon to set, or reduce the gradient with software afterwards.
How often should I check my focus during a night?
Check it after the first test frame and then again every half hour or so, and whenever the temperature changes noticeably, because a falling temperature can shift the focus of many lenses.
Sources and further reading
AstroNight is now on the App Store. The free planner and coach for astrophotography works on iPhone and iPad with iOS 17 or later, offline, with no account. Get it on the App Store.