Key takeaways
- You do not need a telescope or a tracking mount. A camera with manual exposure, a wide aperture lens and a steady tripod will capture the Milky Way, the moon, star trails and the aurora.
- Focus on the brightest star you can find in live view, magnified as far as it will go, and then leave the focus alone.
- Divide 500 (or 300 for a modern high resolution sensor) by the focal length to find the longest exposure in seconds before the stars trail.
- Shoot RAW, switch off stabilisation and long exposure noise reduction, and keep notes so that every night teaches you something.
To photograph the night sky for the first time you need a camera with manual exposure, a lens with a wide aperture and a steady tripod. Set the widest aperture, focus on a bright star in live view, and expose for about 500 divided by the focal length in seconds.
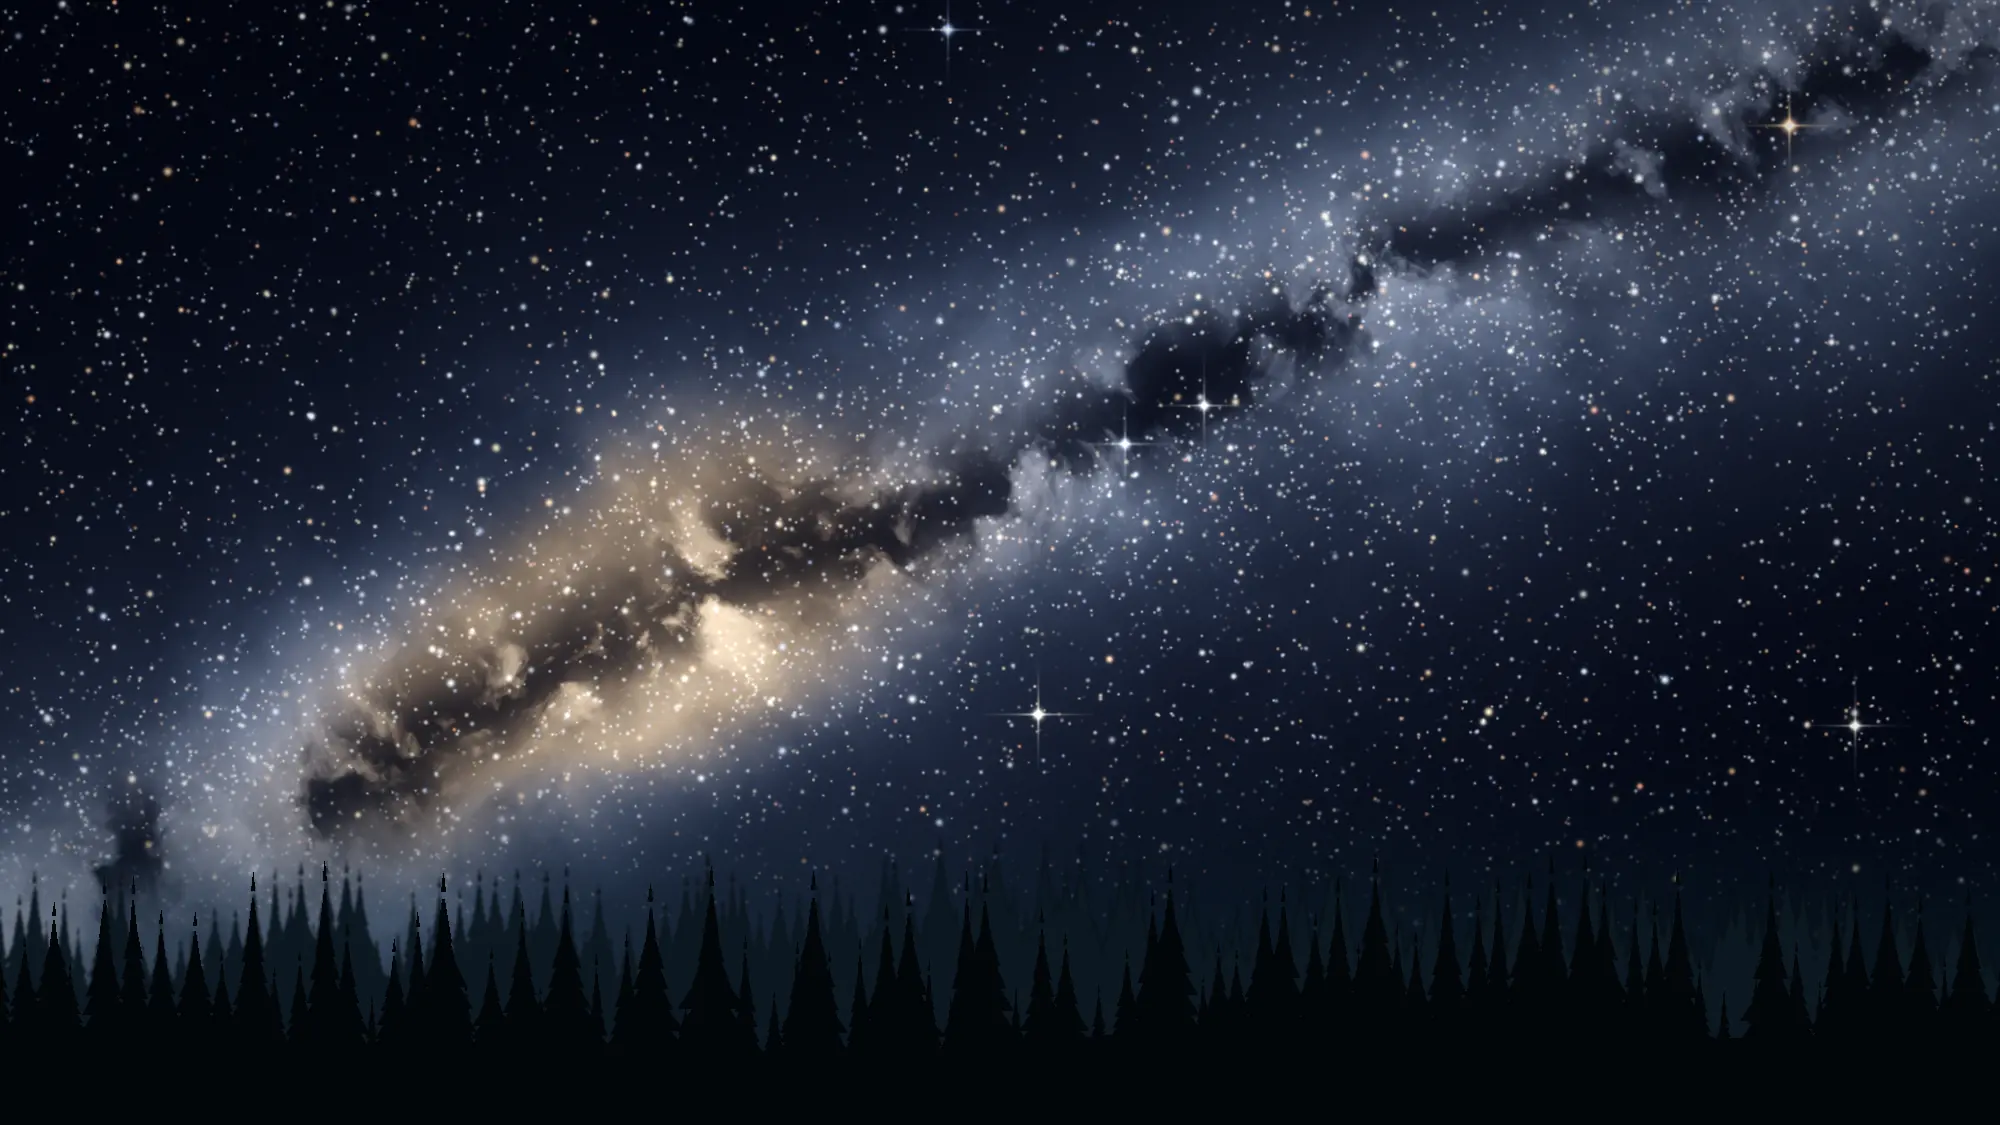
You do not need a telescope, a tracking mount or a remote observatory to begin. These three things are enough to capture the Milky Way, the moon, star trails and, with some luck, the aurora.
Choose the place before the night
Darkness matters more than any piece of equipment, so it is worth looking at a light pollution map, or at the sky class that AstroNight estimates in its location picker, and choosing a spot that is as far from the lights of a town as is practical. What the class means is explained in the Bortle scale article. A clear horizon in the direction of your subject helps as well. If you can, visit the place once in daylight, so that you know where the ground is uneven and where you can park without disturbing anyone.
Set up while there is still some light
Mount the camera on the tripod and set the lens to its widest aperture and its widest angle of view. Switch to manual exposure, switch off image stabilisation, and choose RAW if your camera offers it, because RAW files keep far more detail for later adjustment. Turn off long exposure noise reduction, which doubles the time each frame takes, and use the timer or a remote release so that pressing the button does not shake the camera.
Focus with care
Autofocus rarely works in the dark. Point the camera at the brightest star or planet you can find, switch to live view, magnify the image as far as it will go and turn the focus ring until the star becomes the smallest, sharpest point you can make. Take a test frame, look at it magnified, and correct the focus if it is needed. A Bahtinov mask, a cheap plate that turns every star into a pattern of spikes, makes this easier with a longer lens. Tape the focus ring in place if your lens tends to drift, and check again after a while, because changes in temperature can shift the focus.
Choose an exposure that avoids trails
The stars appear to move because the earth rotates, and a long exposure turns each point of light into a small streak. An old rule of thumb suggests dividing 500 by the focal length of the lens in millimetres to find the longest exposure in seconds. On a camera with a smaller sensor you multiply the focal length by the crop factor first. Modern sensors with many pixels reveal trailing sooner, so many photographers now divide 300 or 400 instead.
| Focal length | Rule of 500 | Rule of 300 |
|---|---|---|
| 14 mm | 36 seconds | 21 seconds |
| 24 mm | 21 seconds | 12 seconds |
| 35 mm | 14 seconds | 9 seconds |
| 50 mm | 10 seconds | 6 seconds |
| 85 mm | 6 seconds | About 4 seconds |
Start with an ISO between 1600 and 3200 and look at the result, and if the picture is too dark, raise the ISO before you lengthen the exposure.
Starting settings for the first subjects
| Subject | Lens | Exposure | ISO | Notes |
|---|---|---|---|---|
| The Milky Way | 14 to 24 mm, f/1.4 to f/2.8 | 15 to 25 seconds | 3200 to 6400 | Choose a dark site and a night without the moon |
| Star trails | 14 to 24 mm, wide open | 20 to 30 seconds, many frames | 800 to 1600 | See star trails the easy way |
| The aurora | The widest, fastest lens | 1 to 8 seconds | 1600 to 3200 | See chasing the northern lights |
| The moon | 200 mm or longer | About 1/125 second | 100 | Around f/8 to f/11, because the moon is bright |
Mistakes almost everyone makes
| Mistake | What you see | The cure |
|---|---|---|
| Image stabilisation left on | Soft stars, even on a tripod | Switch it off on a tripod |
| Autofocus left on | Soft, swollen stars | Focus manually on a star, then leave it |
| JPEG instead of RAW | Little room to correct the colour and noise | Shoot RAW |
| An exposure that is too long | Short streaks instead of points | Use the 500 or 300 rule |
| Pressing the shutter by hand | Shaken stars | Use the timer or a remote release |
| A white torch or phone screen | A night of poor dark adaptation | Use a red light |
Look after yourself and the camera
Nights are colder than they feel when you leave the house, and batteries lose capacity quickly in the cold, so carry a spare and keep it in an inside pocket. Lenses can mist over as the air cools, and a small heater strap, or even a hand warmer fixed near the lens, helps to keep the glass clear. Your own eyes need around twenty to thirty minutes to adjust fully to the dark, and a white torch undoes that in seconds, so use a red light when you need to read your settings. That is also the reason this website has a red light switch at the top of every page, and the science is in what red light does for your eyes.
Keep notes and look at your results honestly
After the session, write down the target, the lens, the settings and how the sky looked. A short note is enough, and after a few nights you will have the beginnings of a record that explains why one evening worked and another did not. The session log in AstroNight is designed for exactly this, and it can examine a photograph for common problems such as soft focus or an uneven background, so that the lessons from one night are ready for the next. The checks themselves are described in reading a test frame before you go home.
A short note after every night is worth more than any piece of equipment.
Frequently asked questions
What camera settings should I use for night sky photography?
Use manual mode with the widest aperture, an exposure of about 500 divided by the focal length in seconds, and ISO 1600 to 3200. Focus manually on a star, shoot RAW, and adjust after a test frame. Raise the ISO before you lengthen the exposure.
Do I need an expensive camera for astrophotography?
No. Any camera that lets you set the exposure by hand and has a reasonably fast lens will do for the Milky Way, the moon, star trails and the aurora. A steady tripod matters as much as the camera.
What is the 500 rule?
It is a rule of thumb for the longest exposure before stars start to trail. Divide 500 by the focal length of your lens in millimetres, so a 24 millimetre lens gives about 20 seconds. On high resolution sensors a rule of 300 or 400 is safer.
Why are my stars blurry or stretched?
Soft stars are usually out of focus, and stretched stars are usually trailed by the rotation of the earth. A shorter exposure separates the two at once, as explained in the article on reading a test frame.
Can I photograph the Milky Way from Finland?
Yes, from late August until winter, when the dark returns and the band arches high overhead through Cassiopeia and Cygnus. The bright galactic core, however, never rises from Finland, which is explained in a separate article.
Sources and further reading
AstroNight is now on the App Store. The free planner and coach for astrophotography works on iPhone and iPad with iOS 17 or later, offline, with no account. Get it on the App Store.